A Quick Setup Guide for venv Before Writing Your First Trading Script
In [Part 1], we walked through setting up our core trading environment, installing BlackBull Markets MT5, and making sure Python 3.12 was installed on our Windows machine.
However, if you followed along with the official Python Windows installer, you likely noticed something: both Python 3.14 (the default installer version) and Python 3.12 (which we explicitly pulled) are now coexisting on your system.
When you build a trading bot, you cannot leave Python execution to chance. If your system defaults to Python 3.14, your machine learning and quantitative trading libraries might break due to dependency conflicts. We need a way to force our project to run exclusively on Python 3.12.
This is where a Virtual Environment (venv) comes in.
Why a Virtual Environment is Crucial for Trading Bots
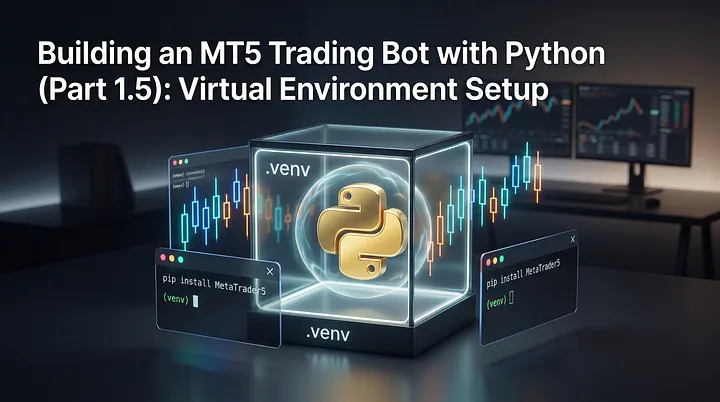
A virtual environment is an isolated runtime directory where your project lives. Think of it as a sandbox:
- Targeting Specific Runtimes: It pins your workspace specifically to Python 3.12, regardless of what global version Windows defaults to.
- Preventing Package Conflicts: An algorithmic trading system uses specialized libraries (
MetaTrader5,pandas,numpy, and eventually deep learning frameworks likeTensorFloworPyTorch). Installing everything globally creates package version clashes across different projects. - Reproducibility: When you eventually deploy your bot to a remote VPS or a cloud server, having an isolated environment ensures you know exactly which packages and versions your bot needs to run without surprises.
Let’s configure a dedicated Python 3.12 virtual environment directly inside Visual Studio Code (VS Code).
Step 1: Open Your Project Folder in VS Code
First, create a dedicated folder for your trading bot project on your PC (for example: C:\TradingBot_MT5).
- Launch VS Code.
- Go to File > Open Folder… (or press
Ctrl + K, Ctrl + O). - Select your newly created project folder.
Step 2: Open the Integrated Terminal
We will create our virtual environment using VS Code’s built-in terminal:
- In the top menu, click Terminal > New Terminal (or press the shortcut
Ctrl + `). - Look at the top right corner of the terminal pane to ensure it is set to Command Prompt (
cmd) or PowerShell.
Step 3: Create the Virtual Environment Targeting Python 3.12
Now, enter the following command in the terminal:
python3.12 -m venv .\.venv What this command does:
python3.12: Explicitly instructs the Windows Python Launcher to bypass Python 3.14 and use the Python 3.12 binary.-m venv: Calls Python’s built-in virtual environment module..\.venv: The name of the folder where all environment binaries and libraries will reside.
Press Enter. After a few seconds, you will see a new folder named .venv appear in your VS Code File Explorer on the left.
Step 4: Select the Python Interpreter in VS Code
VS Code usually detects the new virtual environment automatically and asks:
“We noticed a new virtual environment has been created. Do you want to select it for the workspace folder?”
If you see this notification in the bottom right, click Yes.
If the prompt doesn’t appear, you can select it manually:
- Press
Ctrl + Shift + Pto open the Command Palette. - Type
Python: Select Interpreterand hit Enter. - Choose the option containing
Python 3.12.x ('.venv': venv).
You need to set ‘Python: Select Interpreter’ so that your trading bot actually runs within the virtual environment later on.
Step 4: How to Manually Activate and Deactivate the Virtual Environment
VS Code often connects the interpreter automatically (as done in Step 4), but when you need to use the terminal to install new packages or run scripts, you must know how to activate and deactivate the environment manually.
When you open a new terminal in VS Code within your project folder, it may activate automatically. If it doesn’t, here’s how to do it.
(1) Activating the Environment
Enter the activation command in the terminal based on your shell ( in VSCode Terminal):
.venv\Scripts\activate
Once activated, you will see the name of your virtual environment, (.venv), appear at the beginning of your terminal prompt line.
Note for PowerShell Users: If you receive a permission error like “execution of scripts is disabled on this system” when trying to activate, you need to set the execution policy. Run the following command in a PowerShell terminal opened as Administrator:
Set-ExecutionPolicy RemoteSigned -Scope CurrentUser
(2) Deactivating the Environment
To exit the virtual environment and return to your system’s global Python interpreter, simply type this command in the active terminal:
deactivateStep 5: Verify the Virtual Environment
Let’s confirm that everything is connected properly.
- In the terminal, create or open a new terminal window (
Ctrl + Shift +`) so that the environment activates automatically. - Notice that your command line prompt now starts with
(.venv), indicating that the virtual environment is active:
(.venv) C:\TradingBot_MT5
- Type the following command:
python --version
- It should output:
Python 3.12.x
If you see Python 3.12.x inside (.venv), your workspace is locked, isolated, and completely protected from external library conflicts!
Wrapping Up
Your development environment is now clean and ready for institutional-grade reliability. You have Python 3.12 isolated inside VS Code, meaning whatever we install next will never interfere with the rest of your system.
In Part 2, we will finally dive into the code: installing the official MetaTrader5 package, establishing a direct connection to the terminal, and fetching real-time market data directly into a Python data structure.